(This is a journal about my journey to solve a problem with Ubuntu Audio. It is not a step by step problem solving guide. There are several mis-steps that I document, and there are surely better ways of doing this. Therefore, read through the entire thing and read the comments before taking any steps. And do only steps that you feel comfortable with.)
I did a fresh install of Ubuntu Linux last weekend on my desktop computer. I changed it from dual boot to being the only OS on the system. I plan to run any windows apps using WINE or in a OpenBox VM.
When my system was dual booted, the audio worked fine. After the re-install the audio has been causing me fits. (no doubt it is a different version, maybe I choose 32 bit the first time and this time I did a 64 bit install and perhaps it is using a different driver, or maybe there has been a release since the last time that I didn’t notice).
After doing some searching, I found this command line tool “ubuntu-bug”. Just go to the command line type in:
unbuntu-bug – audio
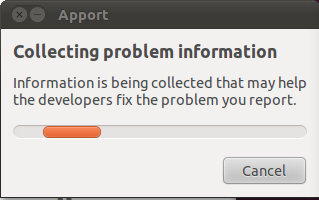
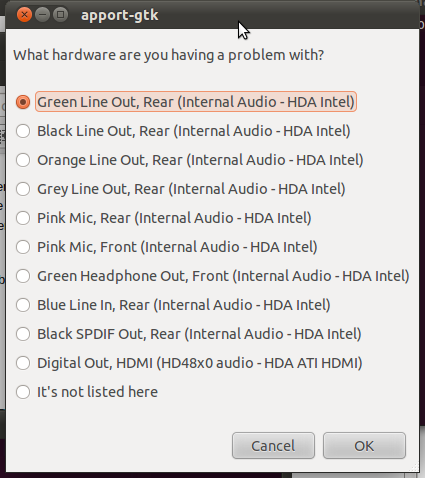
This will bring up a set of screens to help you resolve the problem:
Make sure you have a speaker or head phones hooked up to the port that you select. Then Click OK.
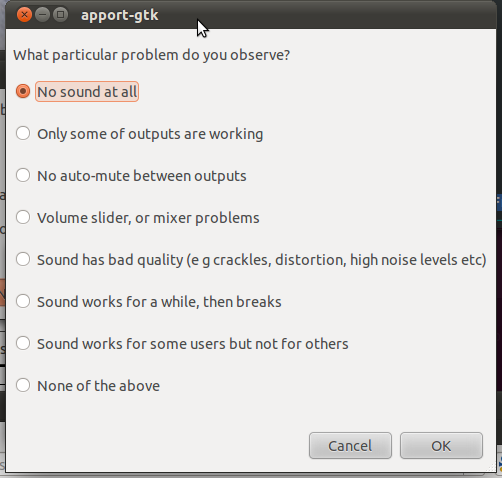
Now it will ask you what the problem is.
In my case, I chose “No Sound At All” and hit OK.
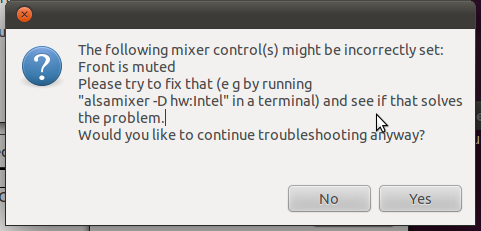
At this point hopefully you get some useful information like I did.
Now I open another terminal and type in the suggested command.
alsamixer -D hw:Intel
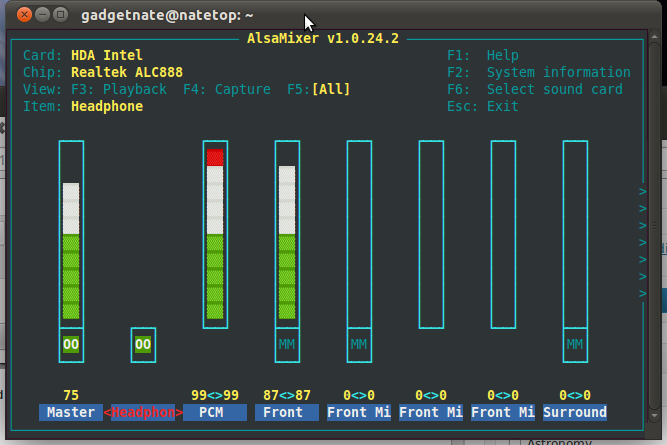
That brings ups a text based graphical interface. (Is that a contradiction in terms? text based graphical?)
Navigating this screen can be a bit tricky. Use the left and right buttons to change the channel that you are working with. It will be highlight in red font at the bottom. Notice “Headphon” (short for Headphone) is currently selected in the picture above.
My problem is that the “front” channel is currently muted. This is indicated by the “MM” in the box above “Front”.  Press the right arrow two times selects it. pressing “m” on the keyboard un-mutes it. Pressing a number between 0-9 will change the volume for the channel.
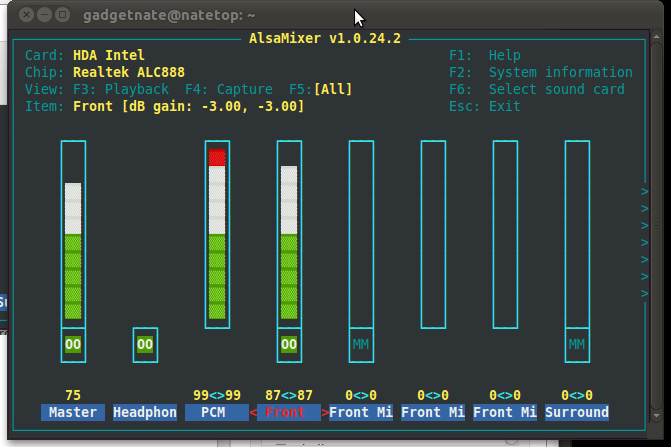
At this point my audio works, and I am very happy. (OK.. maybe happy isn’t the right word… relieved.)
That is until the next reboot. Then the audio doesn’t work, and I have to go through these steps again.
Doing a little searching on Google brought me to this post: ubuntuforums.org/showthread.php?p=8084515
Typing in this command as directed, did not solve the problem:
/sbin/alsactl restore
However, when the computer restarted and the audio was muted, I only had to type in “/sbin/alsactl restore” to get the audio turned back on.
I thought the idea of adding it to a startup script would be good, but I do not have a “~/.fluxbox” directory, so the suggestion in that post was not useful.
Reading on down to the last post provides a link to another post with a better solution:
ubuntuforums.org/showthread.php?p=8342636#post8342636
The only problem with this is that I do not have a /etc/init.d/alsa-utils file.
Reading the posts above that seem to point the way:
- Run ‘alsamixer’ in the Terminal
- Get the settings where you want them and press Esc to exit
- Run ‘sudo alsactl store 0’ in the Terminal
- Run ‘sudo gedit /etc/rc.local’ in the Terminal
- Add “/sbin/alsactl restore” to the end of that file and save it
- Reboot and test the results!
I rebooted, and nothing happened!!! But typing that added line in a terminal did restore my audio. Then my eyes fell on this comment in the rc.local file:
# In order to enable or disable this script just change the execution
# bits.
That can’t be it though doing a “ls -l /etc/rc.local” shows that it has execute permissions. Maybe my audio test was defective. Reboot and try again.
Nope, still no audio on setup. Maybe there is a typo in my /etc/rc.local file?
typing “/etc/rc.local” in a terminal to run it resolves the problem. So for some reason the rc.local is not getting executed….
The idea of adding it to the fluxbox init script doesn’t do me any good. I don’t use fluxbox… Googling for ubuntu startup scripts lead me to this page:
embraceubuntu.com/2005/09/07/adding-a-startup-script-to-be-run-at-bootup/
It seems that anything in the /etc/init.d directory gets ran on startup provided you follow some steps.
1) put the script in /etc/init.d
I did this by “cd /etc/init.d”
then “sudo vi sound-fix”
then insert the one line command in the file: /sbin/alsactl restore
Saved it.
2) add execute permissions
sudo chmod +x sound-fix
3) run “sudo update-rc.d sound-fix defaults”
Now lets give a reboot another shot…
Success!!!
If you have found this post useful, then please leave me a comment. If you know of a better way of doing this, or a good resource to turn to when solving problems like this, please leave a comment for that too.

